How to Install FootingPad

Installation for Any Deck or Post Frame Building Project

Six Simple Steps

Installation of FootingPad footings is easy and no concrete is required.

A circular hole in the ground to place a FootingPad product in.

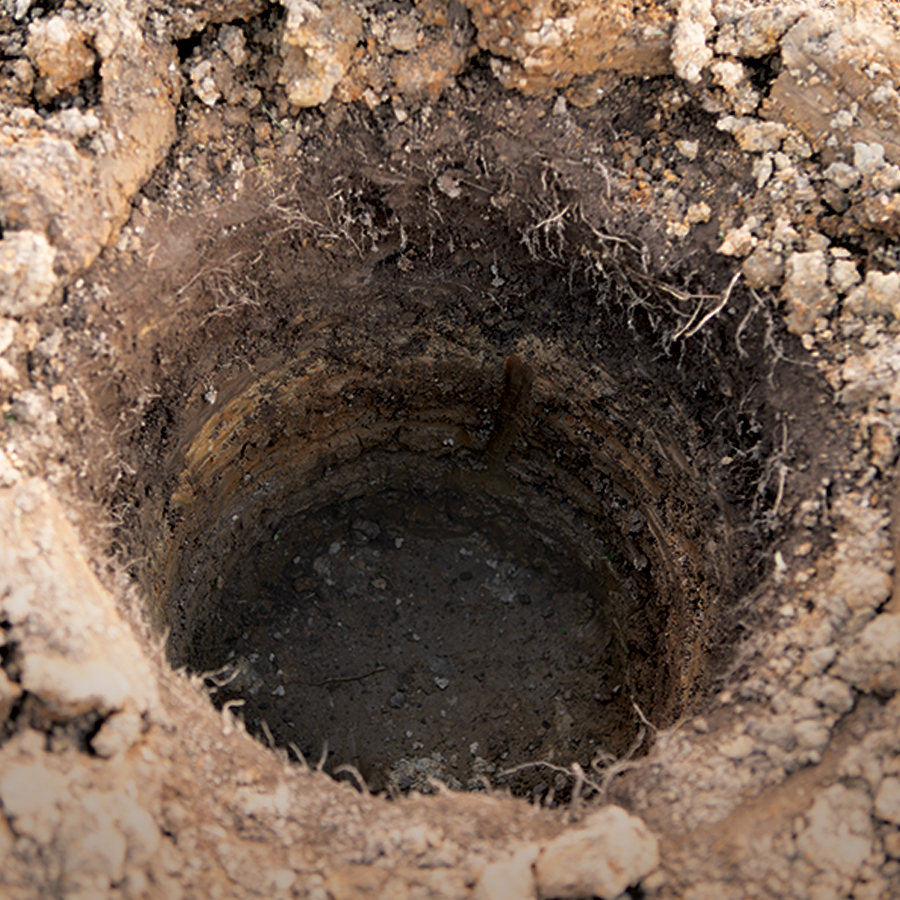
Step 1: Dig the Hole

Dig your post hole slightly wider than the FootingPad diameter and deeper than the frostline.  In free-standing structures, hole depth should be 24" or more to provide lateral stability.

A 2x4 being used to compact dirt at the bottom of a hole.

Step 2: Level and Compact the Bottom

Use a board or other tamper to level and compact the soil at the bottom of the hole.

Pro Tip: A light layer of pea gravel can be added to the bottom of the hole to assist with leveling.

A FootingPad in a hole.

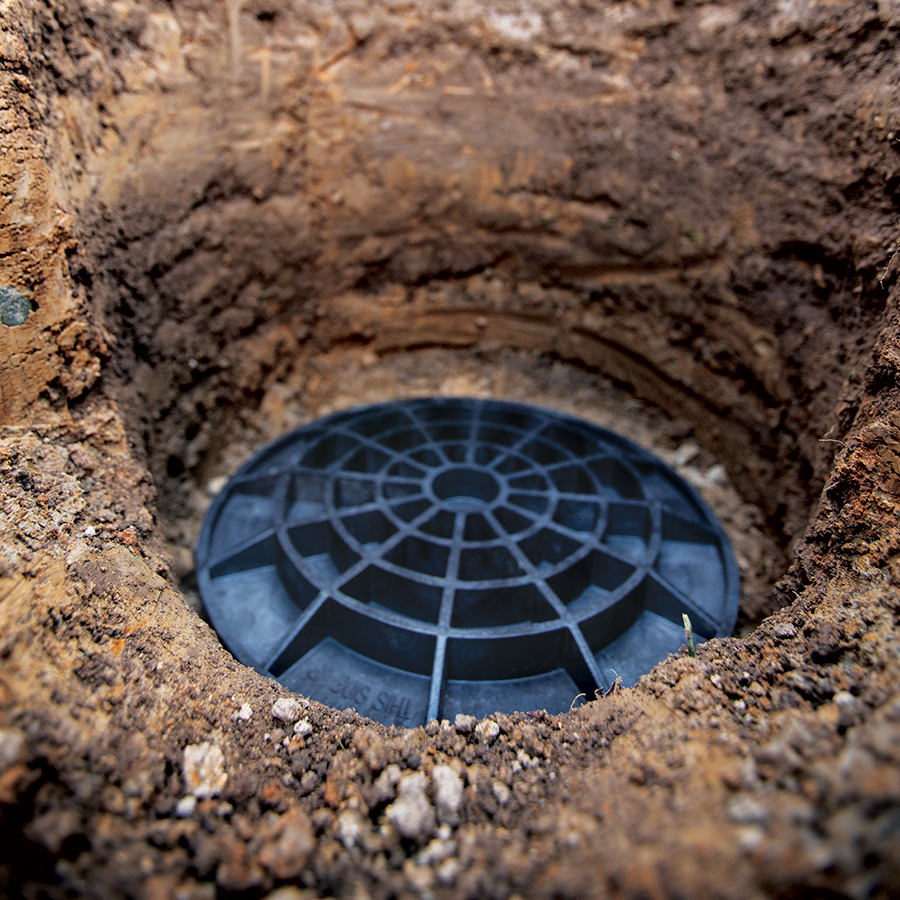
Step 3: Place the FootingPad

Place the FootingPad footing in the bottom of the hole, smooth side down. 

A wood post on a FootingPad foundation in a hole.

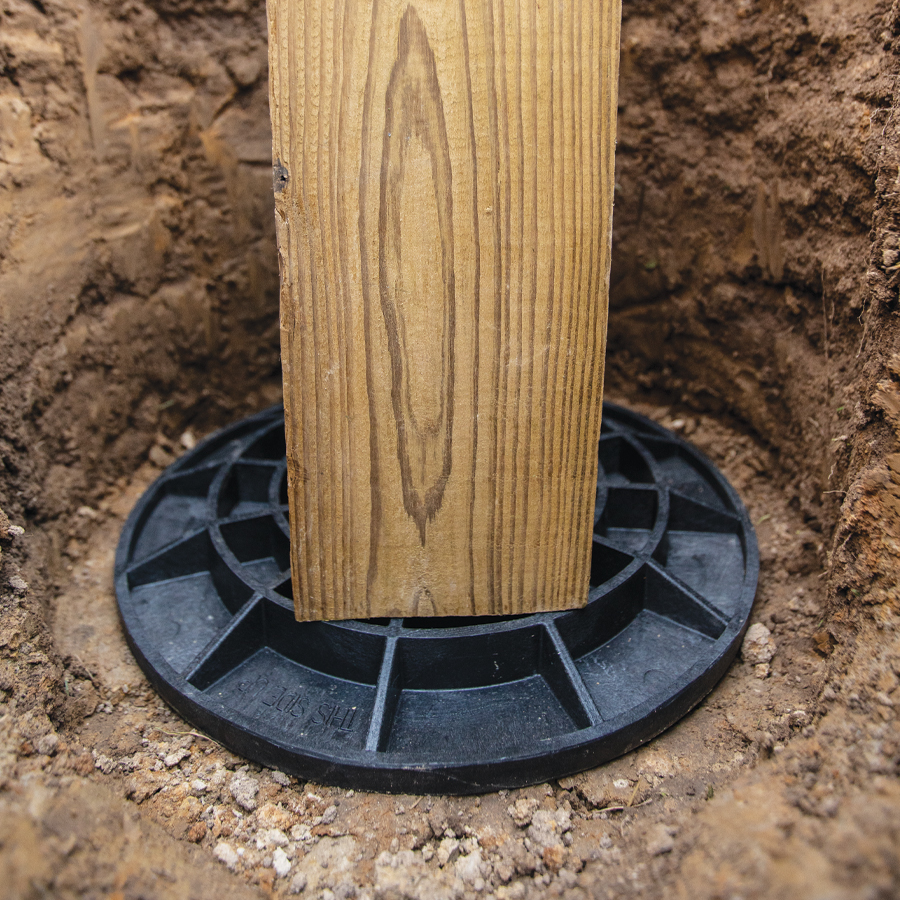
Step 4: Place the Post

 Place your post in the hole so that it is approximately centered on top of the FootingPad footing.
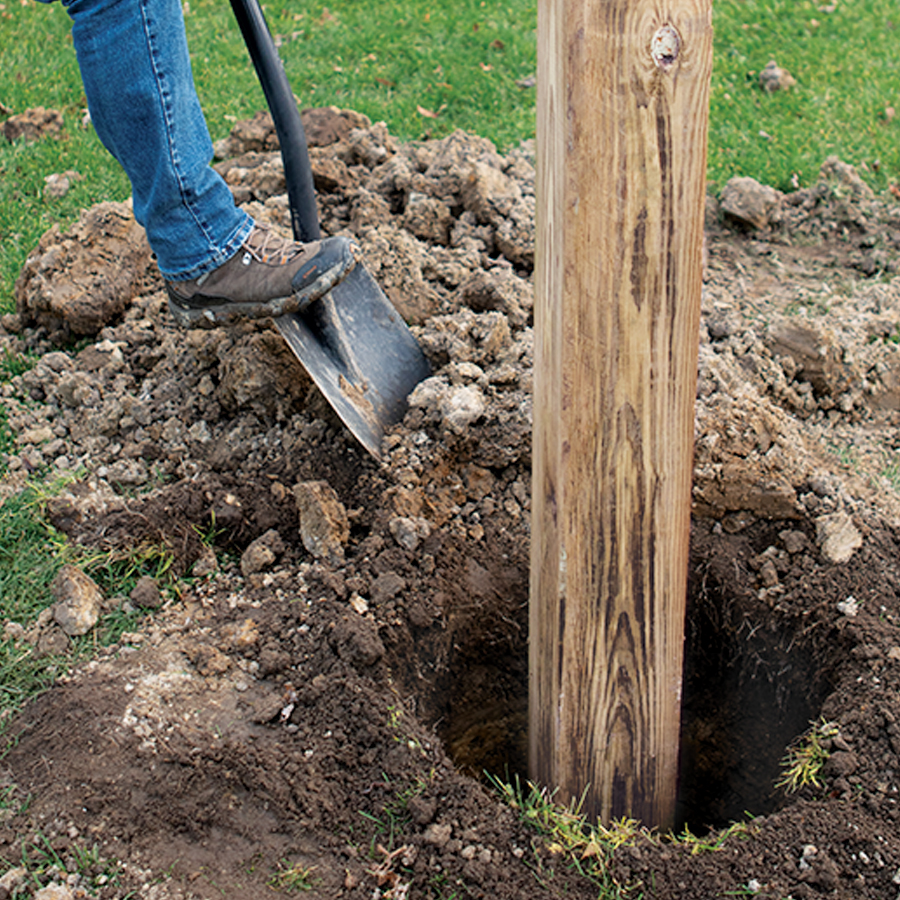
Someone filling a hole with dirt that was used to place a foundation for post.

Step 5: Backfill

Backfill around the post with the original soil. No concrete required. 

A man using a level to check the alignment of a wood post in the ground.

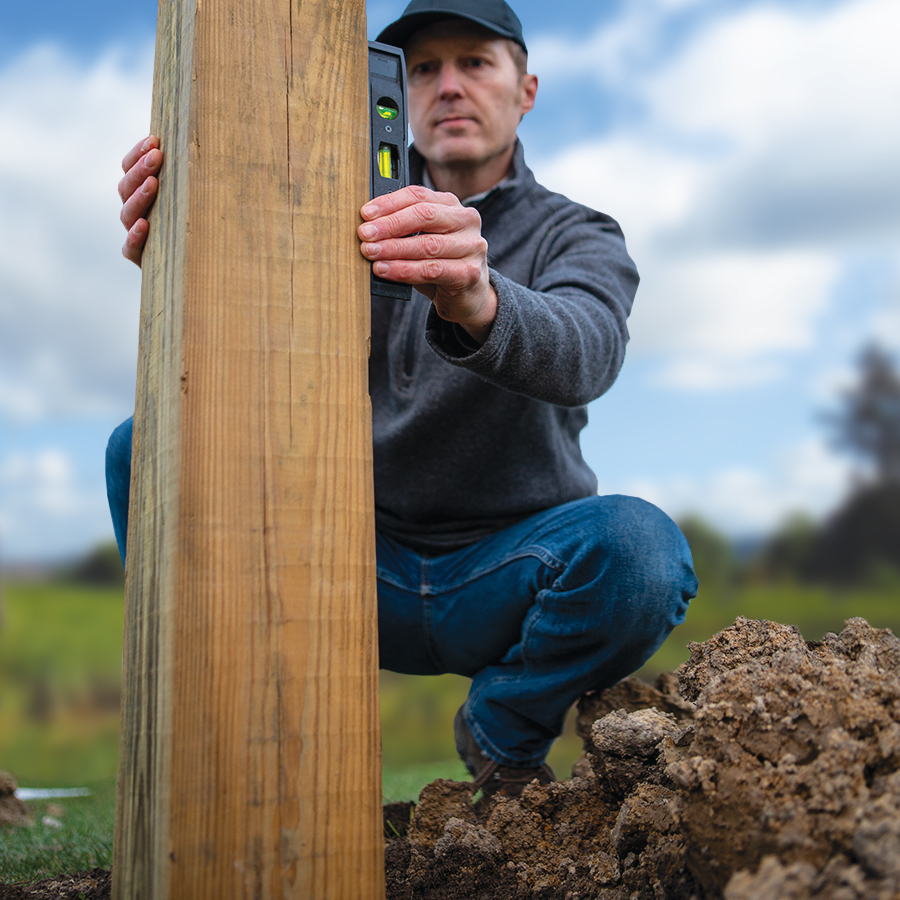
Step 6: Compact Soil and Check Post Alignment 

Compact the backfill around the post every 12” as you fill the hole. Use a level to ensure the post is straight.

Important: Provide the ICC-ES Report to Your Inspector

It is possible that your building inspector may not be familiar with FootingPad post foundations. However, inspectors are familiar with and accept ICC-ES Evaluation Reports to document code compliance. Please print a hard copy of the ICC-ES Evaluation Report 2147 and provide it to your inspector.

Pro Tip:

Cleats may be added to post for uplift resistance.

Free Shipping in the Continental US for All Orders Over $55!

$20 Flat Rate Shipping for Orders Under $55
Shopping Cart